
Setting up global variables in the REST Client VS Code extension
19th Mar 2023 • 5 min read — by Aleksandar Trpkovski
Play audio summary
REST Client is a Visual Studio Code (VS Code) extension (link) that allows you to send HTTP requests and view the responses directly in VS Code.
In the past, my go-to application for testing my REST API endpoints was Postman (link). Postman has many advanced features that cannot be completely replaced with the REST Client extension. However, since you need to switch between two different apps (VS Code and Postman), I find REST Client to be more convenient 90% of the time I test my endpoints.
In this brief blog article, I will explain how to set up global variables that can be reused in different environments within the REST Client extension.
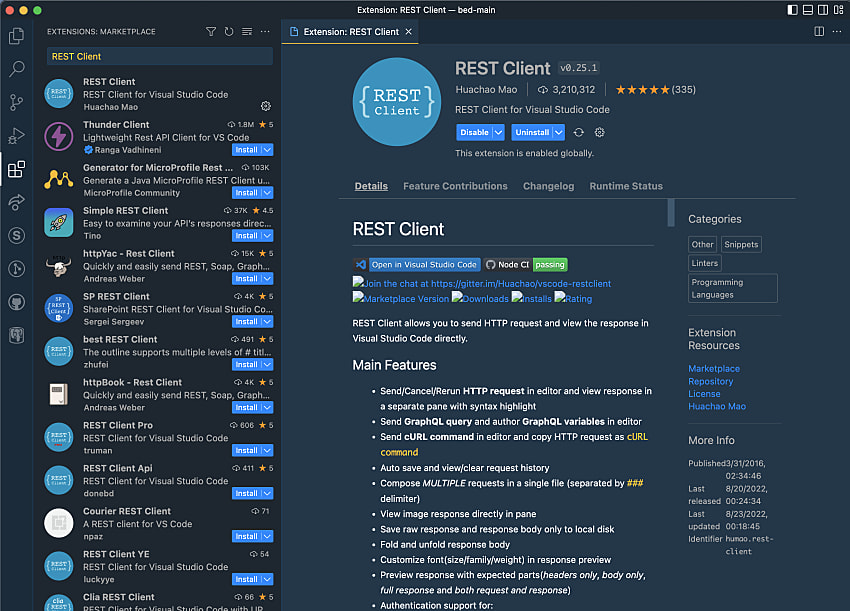
Add the REST Client extension
First, we need to install the REST Client extension for Visual Studio Code. To do so, navigate to the Extensions icon on the left-hand side of VS Code and search for "REST Client" in the search input. Install the extension, and then restart VS Code.
Create a .http file
To use this extension, create a file with a .http extension in any location in the project. Let's create a file called request.server.http in the root of our project.
Inside the file, we'll create two requests: a GET request and a POST request. Both requests will have an Authorisation header with a bearer token.
### Get list of users
GET http://localhost:3000/api/users HTTP/1.1
Content-Type: application/json
Authorization: Bearer L8qq9PZyRg6ieKGEKhZolGC0vJWLw8iEJ88DRdyOg

{}

### Create a user
POST http://localhost:3000/api/create-user HTTP/1.1
Content-Type: application/json
Authorization: Bearer L8qq9PZyRg6ieKGEKhZolGC0vJWLw8iEJ88DRdyOg

{
    "email": "test@test.com",
    "firstName": "Foo",
    "lastName": "Bar"
}
In the code above, we make two requests: one to list all users and another to create a new user. However, there is a lot of repetitive code. For example, it would be nice to store the http://localhost:3000/api URL and the token as global variables, which could then be reused throughout the code. Additionally, the token and URL may vary depending on the environment (e.g. local, staging, or production), so we need to be able to set different values for each environment.
To do this, we can set these variables in our VS Code and then replace them in our request.server.http file.
Create global variables
If you haven't done so already, create a directory called .vscode at the root of the project. Inside this directory, create a file called settings.json. In this file, add the following:
{
    "rest-client.environmentVariables": {
        "local": {
            "baseUrl": "http://localhost:3000/api",
            "token": "L8qq9PZyRg6ieKGEKhZolGC0vJWLw8iEJ88DRdyOg"
        },
        "staging": {
            "baseUrl": "http://localhost:3001/api",
            "token": "eyJhbGciOiJIUzI1NiJ9eyJSb2xlIjoiQWRtaW4if"
        },
        "production": {
            "baseUrl": "http://localhost:3002/api",
            "token": "c3N1ZXIiLCJVc2VybmFtZSI6IkphdmFJblVzZSIsI"
        }
    }
}
As we can see from the JSON file above, we added baseUrl and token variables with different values for each environment: local, staging, and production.
Next, let's see how we can use those variables inside the request.server.http file.
Replace hard-coded values with global variables
Now that we have set our global variables, let's add them to the request.server.http file.
### Get list of users
GET {{baseUrl}}/users HTTP/1.1
Content-Type: application/json
Authorization: Bearer {{token}}

{}

### Create a user
POST {{baseUrl}}/api/create-user HTTP/1.1
Content-Type: application/json
Authorization: Bearer {{token}}

{
    "email": "test@test.com",
    "firstName": "Foo",
    "lastName": "Bar"
}
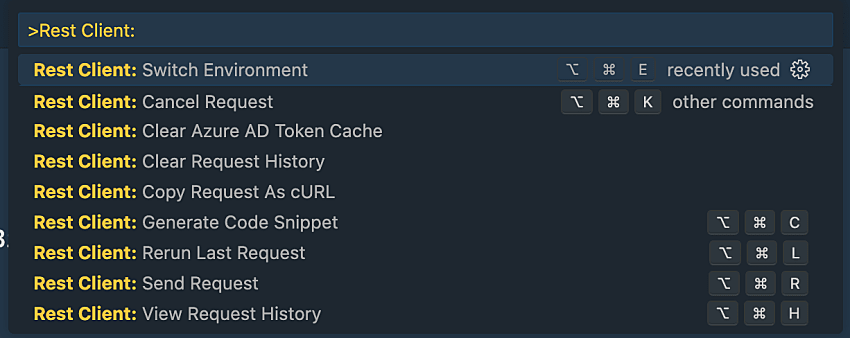
The last thing we need to do is choose the environment on which we want to test those requests. We can do this by calling up the Command Palette (Ctrl+Shift+P) and typing "Rest Client: Switch Environment", and then selecting the environment we want the values to be set to.

And that's it, we can now choose the testing environment we want within seconds.
Conclusion
The REST Client VS Code extension is a handy tool for testing REST API endpoints. Although it may not have all the advanced features of Postman, it is convenient to use since it is integrated into VS Code. I frequently use this extension and find setting global variables to be a big time-saver. This article outlines the steps to quickly set up and use global variables for several different environments in the REST Client extension. I hope you find this article helpful.
Further Reading
Explore more articles that might interest you.